Brighten Up Your Garden: Motion-Sensor Light Installation
Are you looking to add some extra security and ambiance to your garden? Installing motion-sensor lights is a great way to achieve both! Not only will they brighten up your outdoor space, but they will also enhance the safety of your home. In this step-by-step guide, we will walk you through the process of installing motion-sensor lights in your garden.
Step 1: Choose the Right Location
Before you begin the installation process, it is important to determine the best location for your motion-sensor lights. Look for areas in your garden that could benefit from additional lighting, such as pathways, dark corners, or near entryways. It is also important to consider the range of the motion sensor to ensure that it covers the desired area.
Step 2: Gather Your Materials
To install motion-sensor lights in your garden, you will need the following materials:
– Motion-sensor lights
– Screws
– Drill
– Screwdriver
– Wire connectors
– Electrical tape
– Wire strippers
– Ladder
Step 3: Turn Off the Power
Before you begin the installation process, it is important to turn off the power to the area where you will be working. This will help prevent any accidents or injuries while installing the motion-sensor lights.

Image Source: angi.com
Step 4: Install the Lights
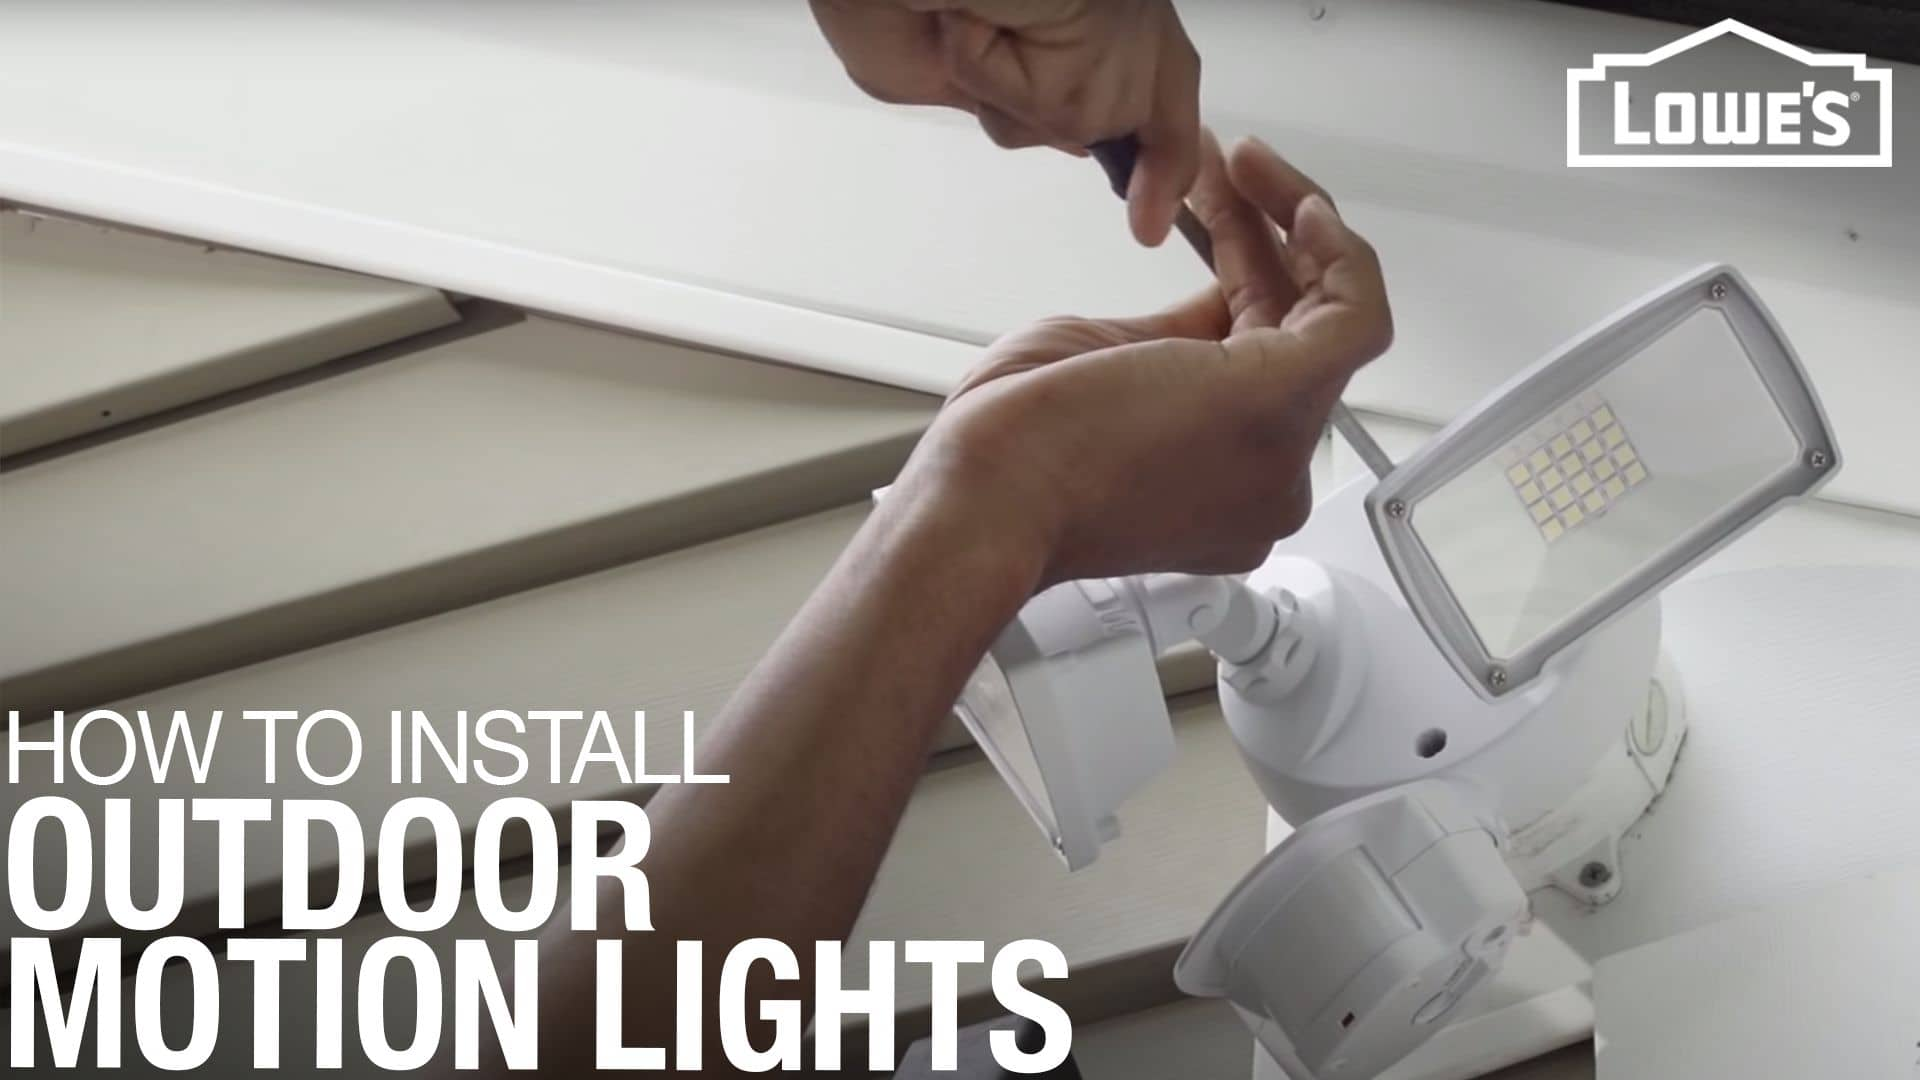
Using the screws and drill, mount the motion-sensor lights in the desired locations in your garden. Make sure that the lights are securely attached to the surface and are facing the direction you want them to illuminate.
Step 5: Connect the Wiring
After installing the lights, it is time to connect the wiring. Use the wire strippers to remove the insulation from the ends of the wires and connect them to the corresponding wires in the motion-sensor lights using wire connectors. Secure the connections with electrical tape to ensure they are insulated and protected.
Step 6: Test the Lights
Once the wiring is connected, turn the power back on and test the motion-sensor lights to make sure they are working properly. Walk around the garden to trigger the motion sensor and ensure that the lights turn on and off as expected.
Step 7: Adjust the Settings
Most motion-sensor lights come with adjustable settings for sensitivity, duration, and range. Take the time to adjust these settings to suit your preferences and the layout of your garden. This will help ensure that the lights are effective in providing the desired level of security and illumination.
Step 8: Enjoy Your New Garden Lights
Congratulations! You have successfully installed motion-sensor lights in your garden. Now sit back, relax, and enjoy the added security and ambiance they bring to your outdoor space. Whether you are hosting a backyard barbecue, taking a late-night stroll, or simply admiring your garden at dusk, the motion-sensor lights will brighten up your garden and enhance the overall atmosphere of your home.
Shedding Light on Safety: DIY Garden Lighting Tutorial

Image Source: ytimg.com
Are you looking to enhance the safety and security of your garden? Installing motion-sensor lights is a great way to achieve this goal while also adding a touch of style to your outdoor space. In this DIY garden lighting tutorial, we will guide you through the step-by-step process of installing motion-sensor lights in your garden.
Step 1: Choose the Right Location
The first step in installing motion-sensor lights in your garden is to choose the right location for them. Look for areas in your garden that are prone to darkness or where you feel additional lighting would improve safety. Consider placing lights near pathways, entrances, or any other areas where you and your family frequently walk at night.
Step 2: Gather Your Supplies
Before you begin the installation process, make sure you have all the necessary supplies on hand. This may include motion-sensor lights, a screwdriver, wire strippers, electrical tape, and any other tools required for the job. It’s also a good idea to read through the manufacturer’s instructions that come with your lights to familiarize yourself with the installation process.

Image Source: lowes.com
Step 3: Turn Off the Power
Safety should always be a top priority when working with electricity. Before you start installing your motion-sensor lights, make sure to turn off the power to the area where you will be working. This can typically be done by flipping the corresponding breaker in your electrical panel. Double-check to ensure the power is off before proceeding.
Step 4: Mount the Lights
Using a screwdriver, mount the motion-sensor lights in the locations you have chosen. Make sure they are securely attached to the wall or other surface and are positioned at the right angle to provide optimal lighting coverage. Follow the manufacturer’s instructions for proper installation to ensure the lights are mounted correctly.
Step 5: Connect the Wiring

Image Source: familyhandyman.com
Once the lights are securely mounted, it’s time to connect the wiring. Use wire strippers to expose the ends of the wires on both the lights and the electrical box. Connect the wires according to the manufacturer’s instructions, using electrical tape to secure the connections. Double-check that the wiring is secure before moving on to the next step.
Step 6: Test the Lights
With the wiring connected, it’s time to test the motion-sensor lights. Turn the power back on and check to see if the lights are functioning properly. Walk around the garden to test the motion sensor and ensure the lights turn on and off as expected. Make any necessary adjustments to the sensor settings to achieve the desired level of sensitivity.
Step 7: Fine-Tune the Settings
Once the lights are installed and working correctly, take some time to fine-tune the settings to meet your specific needs. Adjust the sensitivity and duration of the motion sensor to ensure the lights only come on when needed. You may also want to adjust the angle of the lights to optimize the coverage of the area you want to illuminate.

Image Source: saymedia-content.com
By following these simple steps, you can easily install motion-sensor lights in your garden to enhance safety and security while also adding a stylish touch to your outdoor space. So go ahead, shed some light on safety in your garden with this DIY garden lighting tutorial!
How to Install Motion-Sensor Lights in Your Garden

Image Source: ytimg.com

Image Source: ytimg.com

Image Source: instructables.com

Image Source: ytimg.com

Image Source: fixr.com
